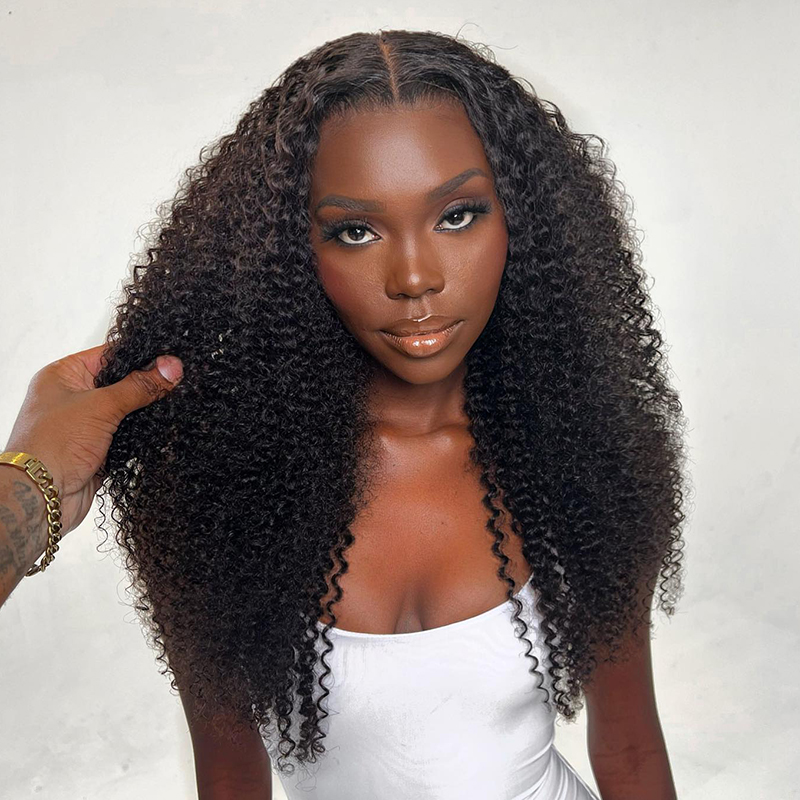
How to Install Bye Bye Knots Wigs: A Step-by-Step Guide
Bye bye knots wigs are known for their glueless installation method, making them convenient and easy to wear. Follow these step-by-step instructions to achieve a flawless installation of your bye bye knots wig:
Prepare your natural hair:
Before installing the wig, make sure your natural hair is clean and neatly flattened. You can either braid your hair close to the scalp or use a wig cap to create a smooth foundation.
Clean your skin:
Ensure that your forehead and hairline are clean and free from any oils or residues. Use a gentle cleanser or alcohol-based solution to cleanse the area and remove any excess oils that may hinder the adhesion of the wig.
Secure bye bye knots wigs:
Place the bye bye knots wig on your head, adjusting it to align with your natural hairline. Use the adjustable straps or combs inside the wig cap to secure it in place. Adjust the straps to achieve a snug and comfortable fit.
Style:
Once the bye bye knots wig is securely in place, you can style it as desired. Use heat styling tools, such as flat irons or curling wands, to create various hairstyles. You can part the wig, style it in updos, or even braid it, depending on your preference.
Remember to be gentle when styling the wig to avoid damaging the lace or causing any tension on the hairline. It's also important to follow proper care and maintenance routines to prolong the lifespan of your bye bye knots wig.
Conclusion:
Installing bye bye knots wigs is a hassle-free process that allows for easy and adjustable wear. By following the step-by-step guide provided above, you can achieve a seamless and natural look with your bye bye knots wig. Enjoy the convenience and versatility that these glueless wigs offer, and embrace the endless styling possibilities they provide.


Comments
Post a Comment